Creating Circuit Boards At Home
Intro
Here I would just like to give a few tips I learned that may make circuit
board design easier for the experimenter.
Layout
To lay out my boards I used a freeware version of a Linux
program called Eagle by CadSoft. The
free version is somewhat limited, but it did the job for me.
Toner Transfer paper
Of all the methods I have seen for making curcit boards this seems to be
the easiest. All you need to do is print your circuit with a laser
jet printer on the toner transfer paper and iron it on to your copper clad
board. There are other toner transfer papers but I recomend Press-n-Peel
which you can get at techniks.
Etching & Tin plating
After you iron you image on to a copper clad board you need to etch it.
This involves agitating the board for about 20 mins in an etchant solution.
After etching I recomend Tim plating. This is not required but it
will protect your board from oxidation. Tin plating takes 5-10 minuits
in a heated tinning solution. You can get powdered etchant, Tin-IT,
and other circuit board supplies form Web-Tronics.
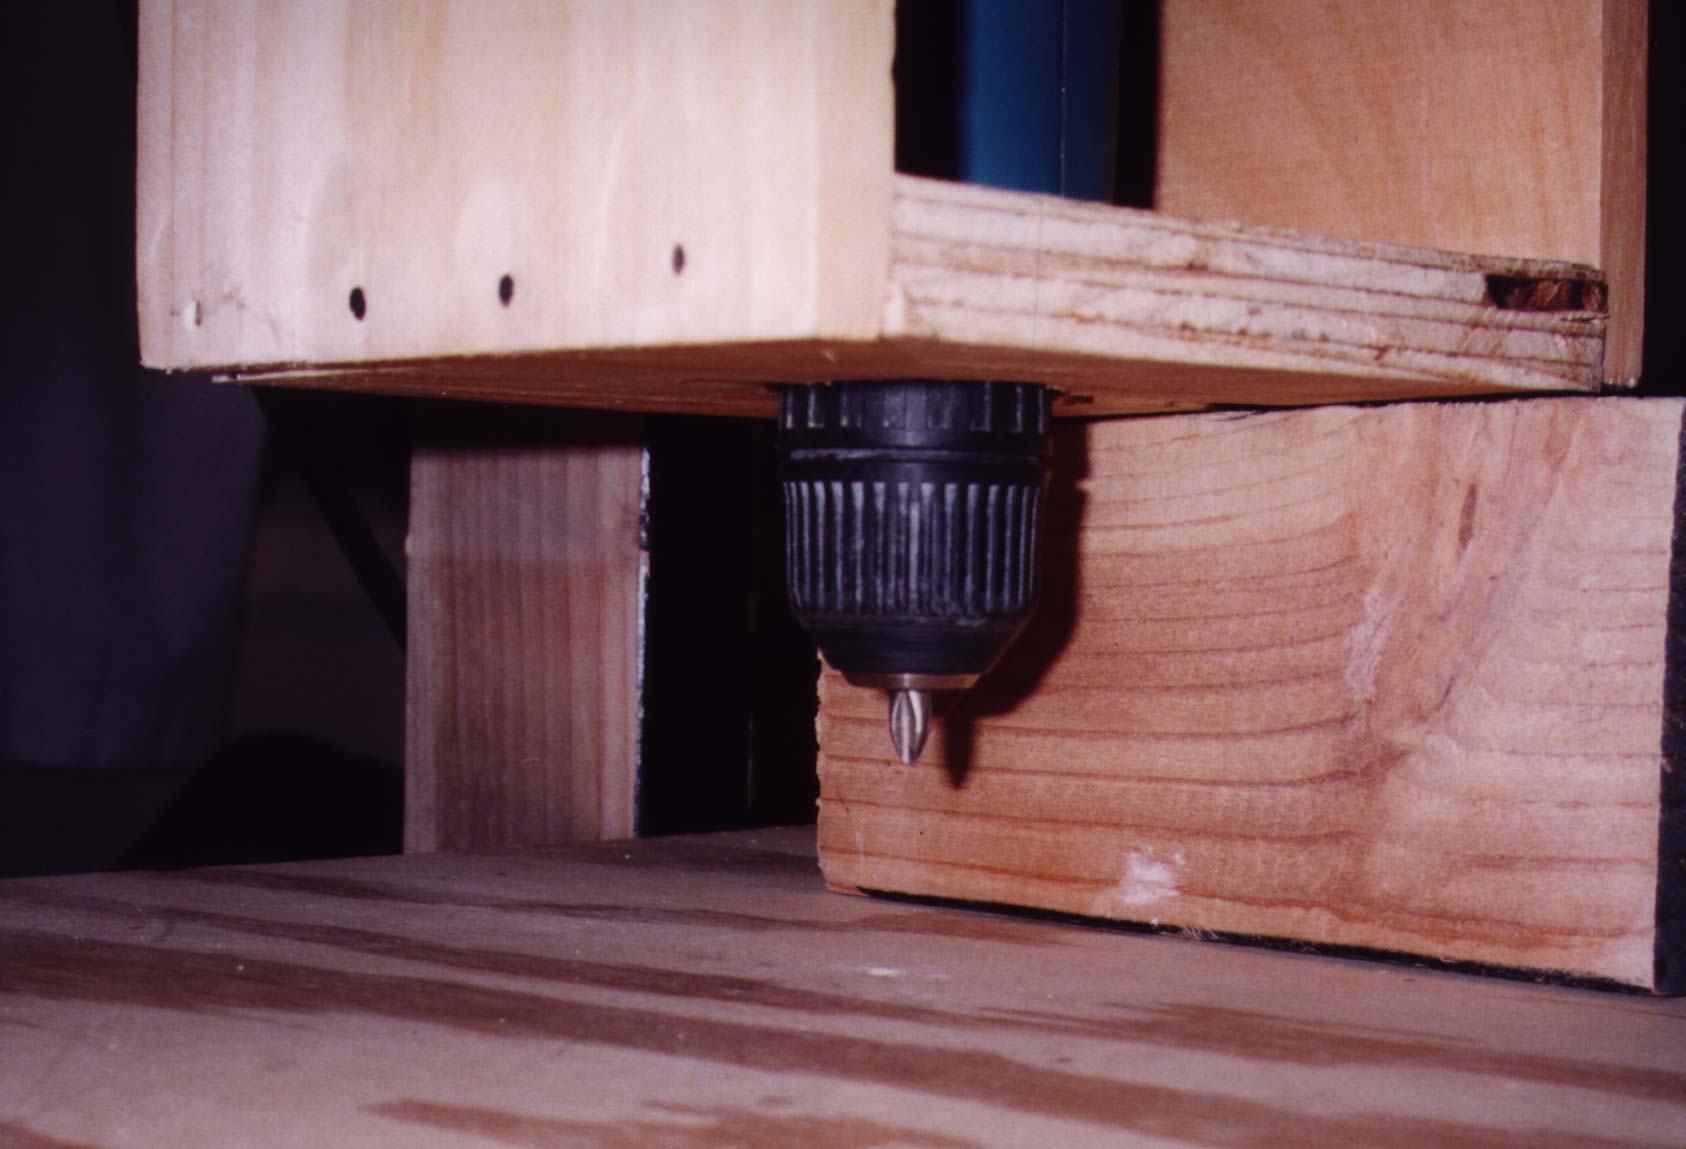
Drilling
To drill your board you need very small bits. 1/32 inch is a good size.
I had some trouble finding these and ended up buying them at a local tool
store. I also had the further problem that I did not have a drill
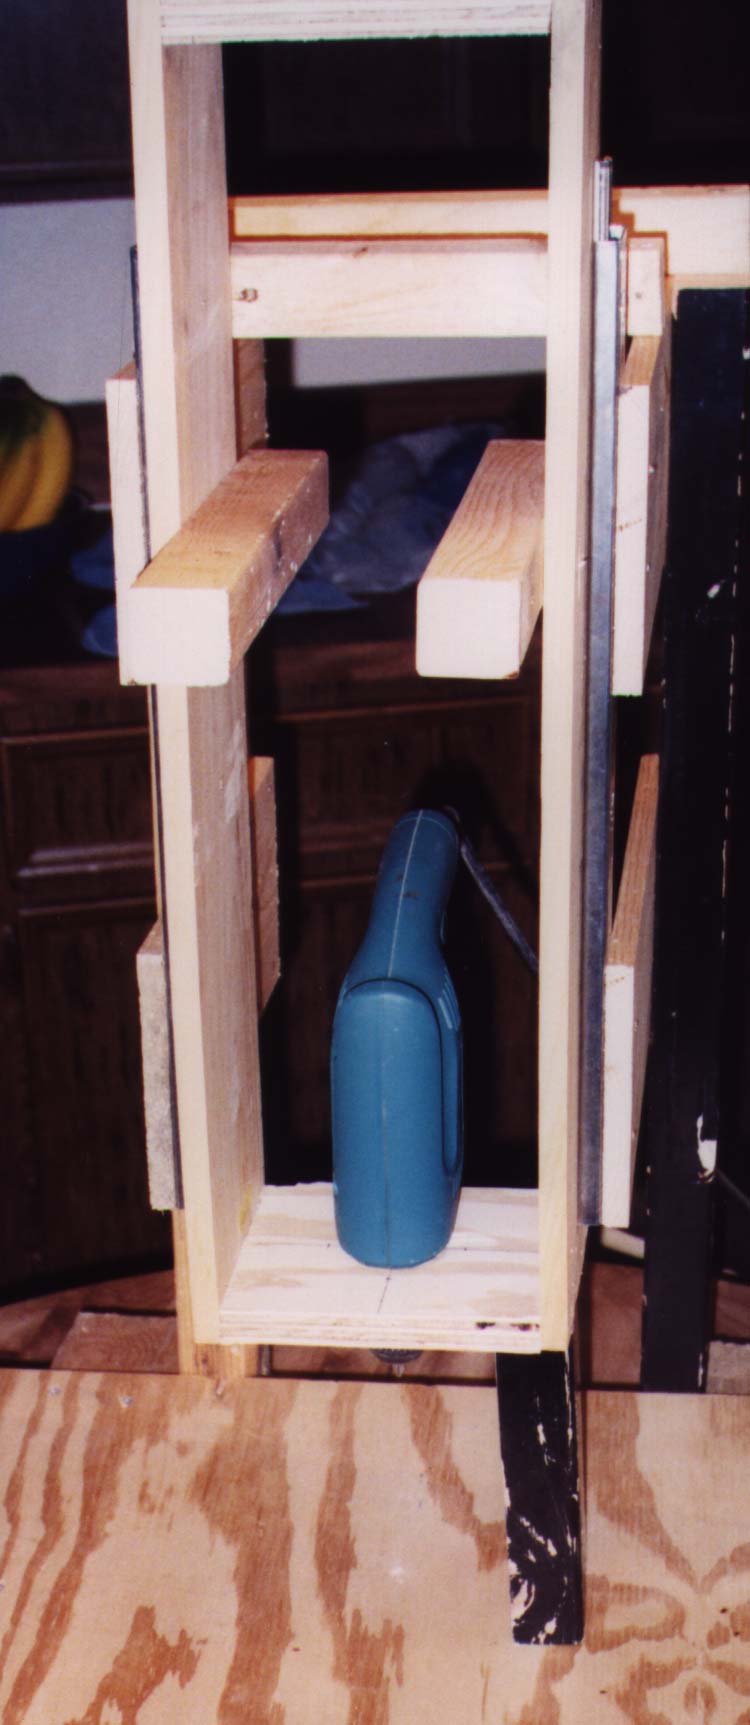
press. You may not want to do this but I ended up building a makeshift
drill press out of wood, a drill, and sliding rails from a drawer.

Related Links